- Home
- Works & Tech
- Where I Got Stuck Before I Could Develop with Unity 6 × Meta Quest
Tech ArticlesXR
Where I Got Stuck Before I Could Develop with Unity 6 × Meta Quest
I hope to save a little time for anyone who gets stuck in the same places, so here are the points where I got stuck and how I solved them.
Environment
- Unity 6
- Meta Quest 3
- Windows
Getting apps to build for Meta Quest
Installing the Meta Quest SDK
If you follow this link to "Meta Quest SDK", you will land on the site below,
and I'm sure you will also be bothered by the "(Deprecated)" part.
But don't worry: it's fine to go ahead and add this to Unity.
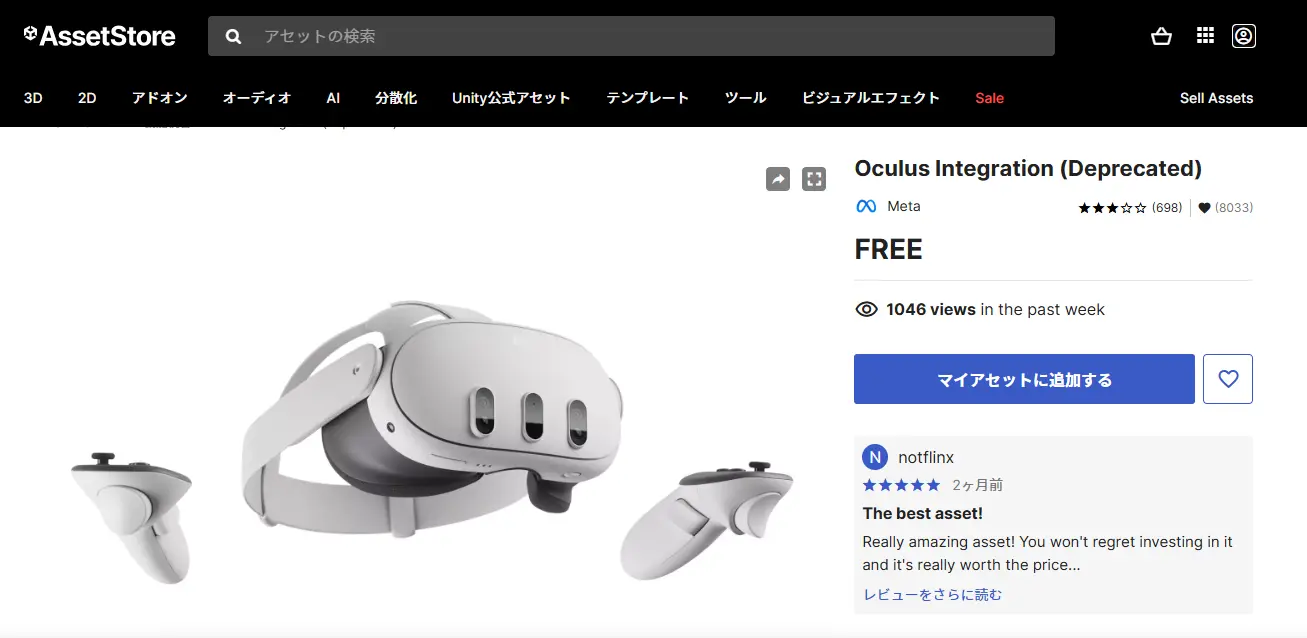
As you set up the environment, a popup will appear saying that this asset is outdated and should be updated, and you can update it from there.
*Below is the content of that popup.
Some of this projects source files refer to API that has changed. These can be automatically updated. It is recommended to have a backup of the project before updating. Do you want these files to be updated? Assets/Oculus/VR/Scripts/Util/OVRGrabbable.cs Assets/Oculus/Interaction/Samples/Scripts/RespawnOnDrop.cs Assets/Oculus/Interaction/Samples/Scripts/UseGrabPressure/PressureBreakable.cs Assets/Oculus/Interaction/Samples/Scripts/AudioPhysics.cs Assets/Oculus/Interaction/Editor/AutoWiring/UnityObjectAd... (For the full message, see the editor log file) Unity project settings
You need to change a number of things, such as the build settings. I spent a little time hunting for where the items ChatGPT mentioned (below) were located, but most of them can be found quickly by searching.
Change the platform to Android from File > Build Settings.
Configure the following in Player Settings:
- Set Other Settings > Minimum API Level to Android 7.0 (API level 24) or higher.
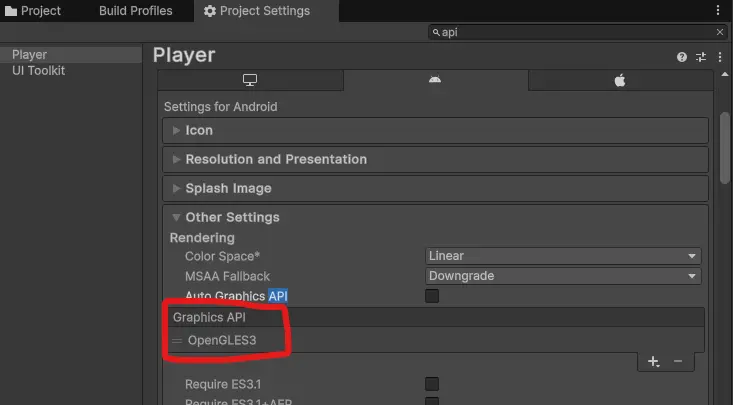
- For Graphics API, remove Vulkan and use OpenGLES3.
- Make sure Oculus is included in Virtual Reality SDKs.
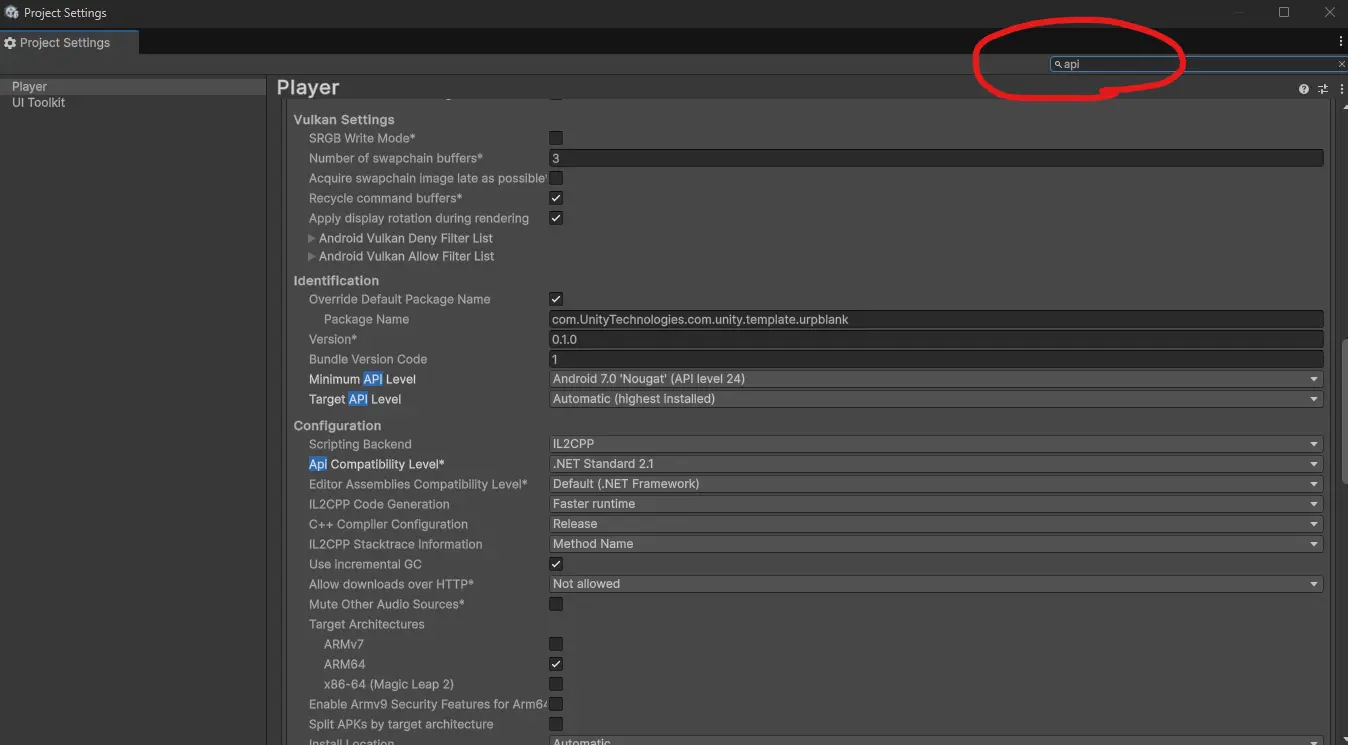
Some items, like the one below, are not covered by the search, so I had no choice but to dig around until I found them.
Enabling developer mode
I misread the instructions and thought an Android smartphone was required for this step,
but it seems you can also do it from a PC, so don't worry.
Create a developer account
Create an account at Meta for Developers.
You need to enter details such as a company name, but a company name that doesn't exist is fine, so go ahead and create one without hesitation.
*Only one developer account can be registered on one Meta Quest device.
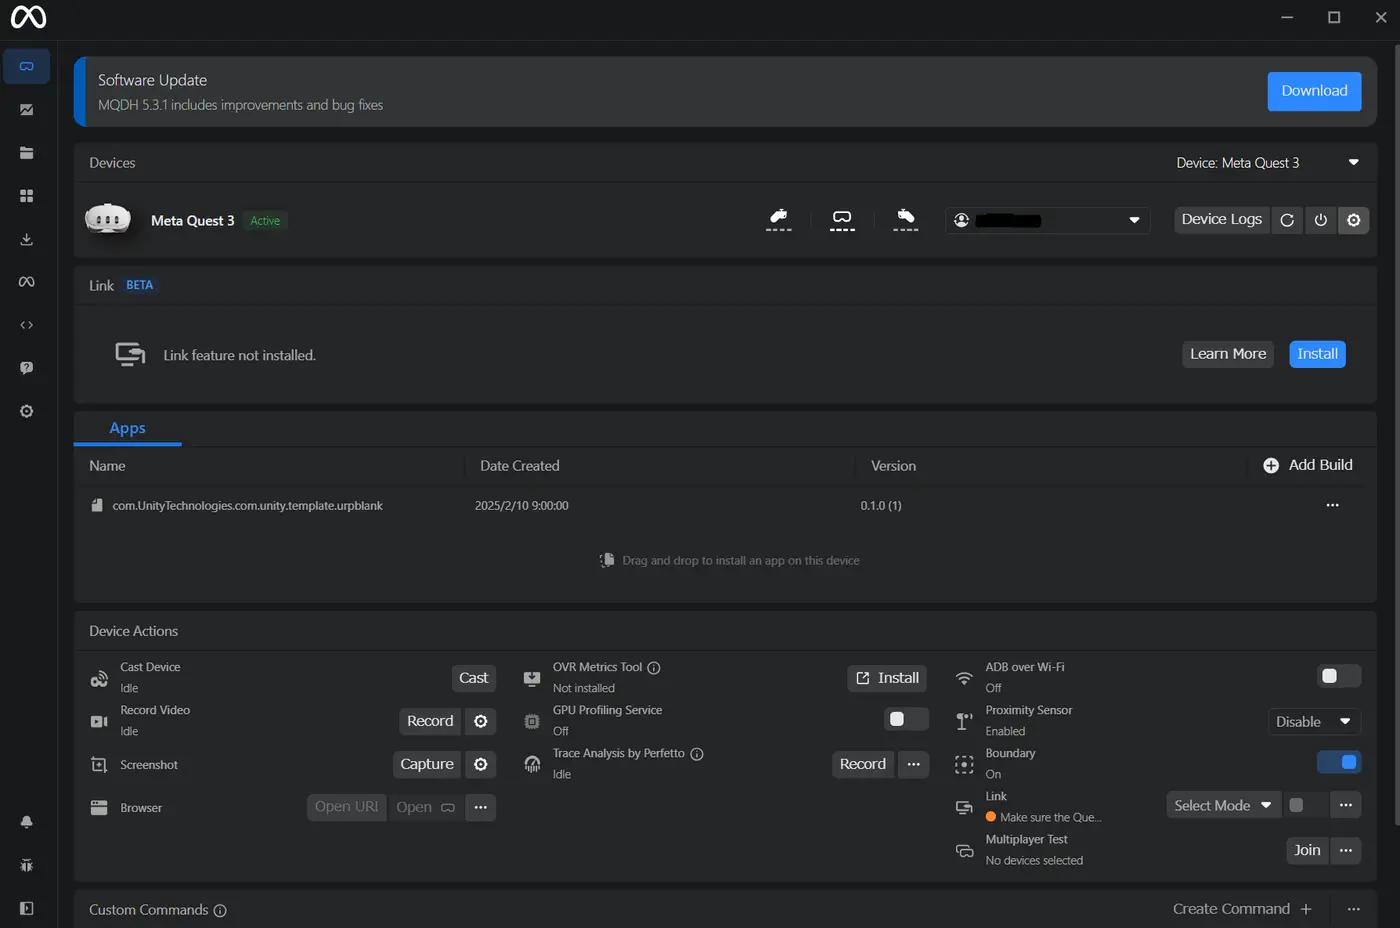
Install Oculus Developer Hub (ODH)
If you are doing this on a PC, download and install ODH.
The software looks like the image below. Very cool.
Getting a minimal app running on Meta Quest
Placing the VR/MR camera (OVRCameraRig) in the Unity scene
With the MainCamera placed by default, a message saying the app is not responding appears the moment the app launches on Meta Quest.
Delete that camera and set up the dedicated camera instead.
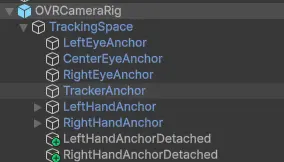
Drag and drop OVRCameraRig from the Assets > Oculus > VR > Prefabs folder into the scene.
That alone takes care of the basic camera movement.
Below is the content of the prefab.
Including your own scenes in the build settings
This is more for Unity beginners than about VR.
If you haven't changed anything in this setting, only the sample scene will be built, so all you will see in front of you is an empty scene with nothing but a skybox.
Click where the red arrow points and select the scenes to include in the build.
At this point, the camera finally follows your head and body movements.

The UI I had built for a smartphone app doesn't appear
The entire UI I had built with a Canvas didn't appear, which had me stuck,
but you can build UI by using a prefab called FlatUnityCanvas.
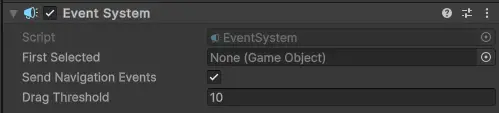
An error occurs if there are two EventSystem components, so delete the one that came with the original Canvas and run again: the error disappears and the UI is displayed.
Words of encouragement
As you can probably imagine,
adding physical hardware (in this case, Meta Quest) means more things to do, but it doesn't make things proportionally harder.
I worked through it by asking ChatGPT as I went,
and got help from colleagues who joined the company at the same time as me whenever I didn't understand something, and I made it through.
I hope this article helps you.