- Home
- Works & Tech
- An Easy-to-Understand Guide to Auto Layout in the Design Tool Figma
Tech ArticlesWeb
An Easy-to-Understand Guide to Auto Layout in the Design Tool Figma

This time, we introduce the Auto Layout feature of the design tool Figma and how to use it in web design.
What is Auto Layout?
Auto Layout is a feature that automatically aligns multiple elements.
Preparing for Auto Layout
Let's take a look at how the feature actually works. To prepare for using Auto Layout, we create a rectangle shape and some text.
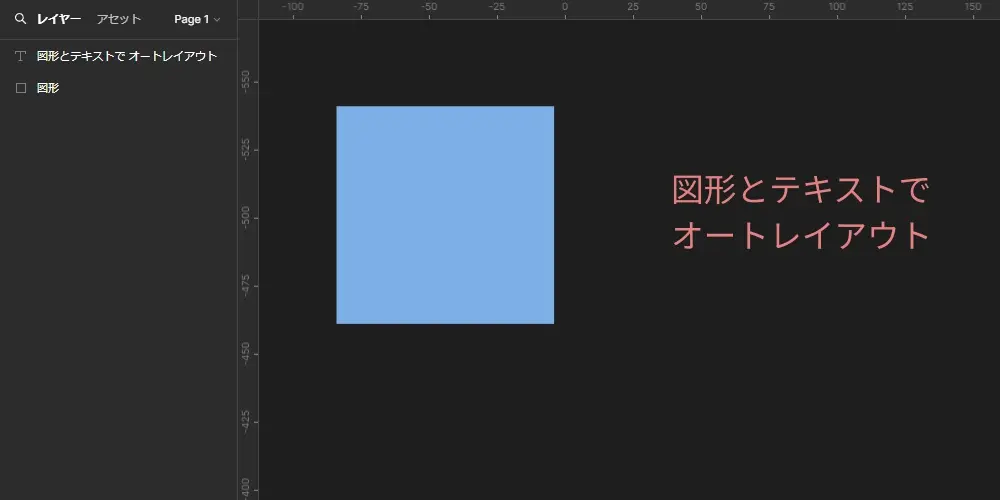
Applying Auto Layout
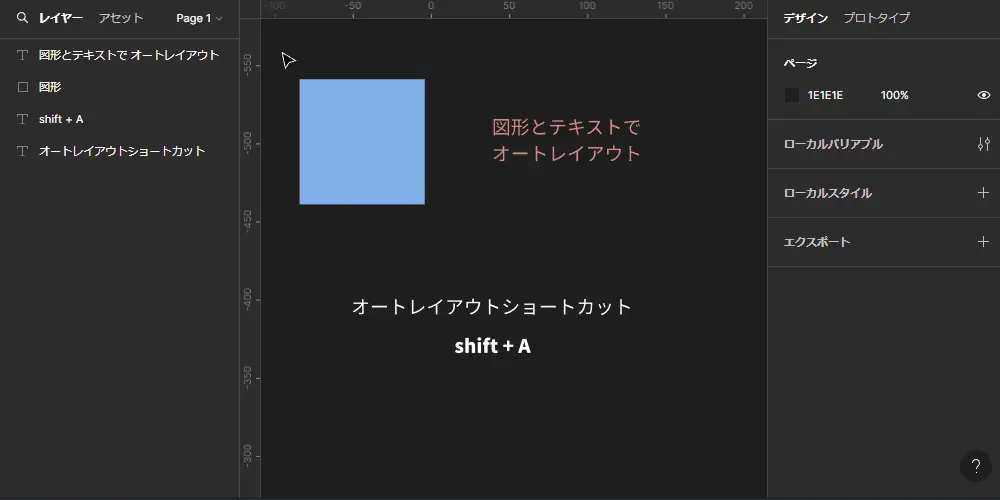
Select the elements you want to put in an Auto Layout, then use any one of the following three methods:
① The "+" button under "Auto layout" in the right panel
② Right-click > Add auto layout
③ The shortcut key Shift + A
Using the shortcut key lets you apply Auto Layout quickly.
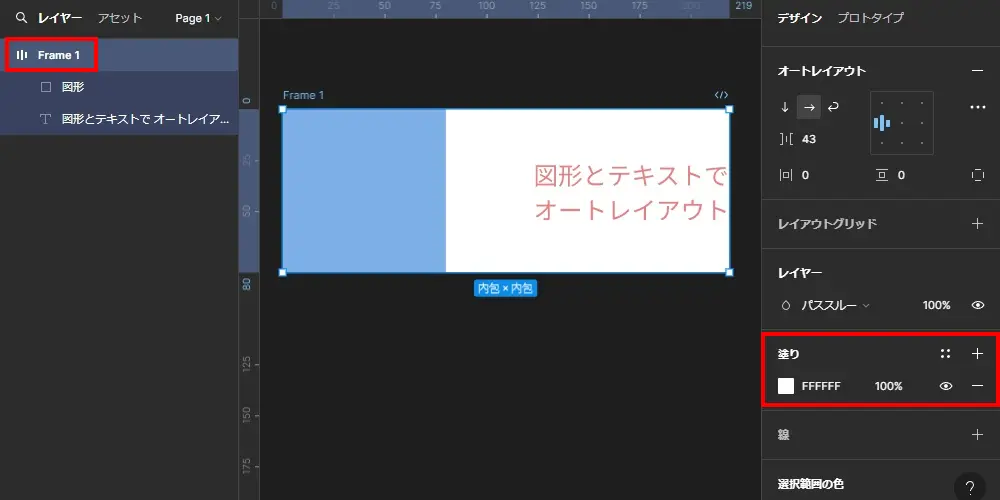
If you look at the layers, you will see that the elements in the Auto Layout have been grouped into a single frame. You are now ready to use Auto Layout. When you select the Auto Layout elements, the options you can set are displayed in the right panel. For clarity, we have also added a fill to the frame this time.
What can you do with Auto Layout?
You can set the alignment direction, how elements are aligned, the spacing between elements, the padding of the frame, the order of elements, and more.
Changing the alignment direction
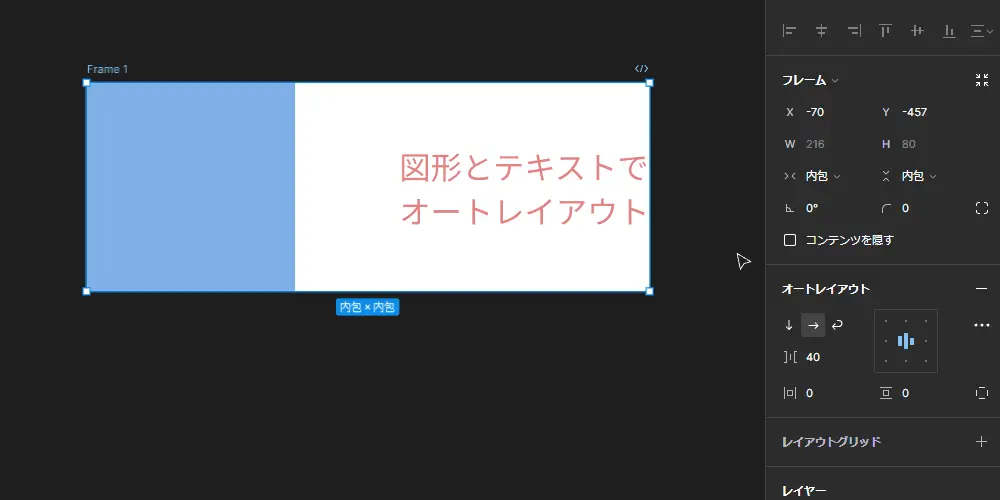
Changing the alignment
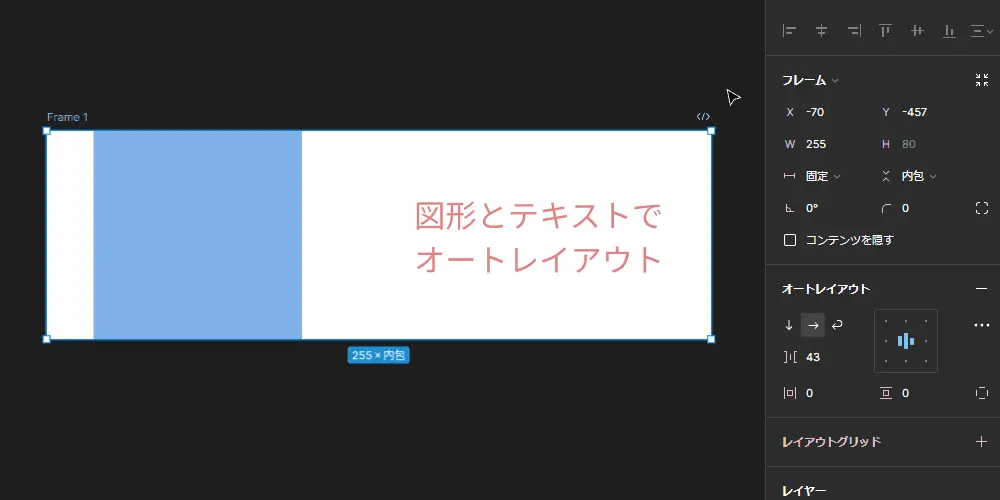
Changing the spacing
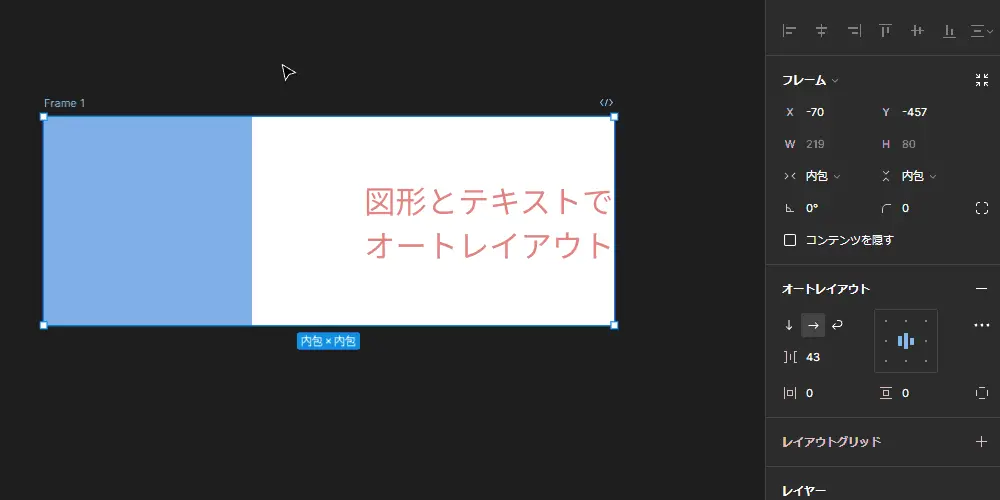
Changing the padding
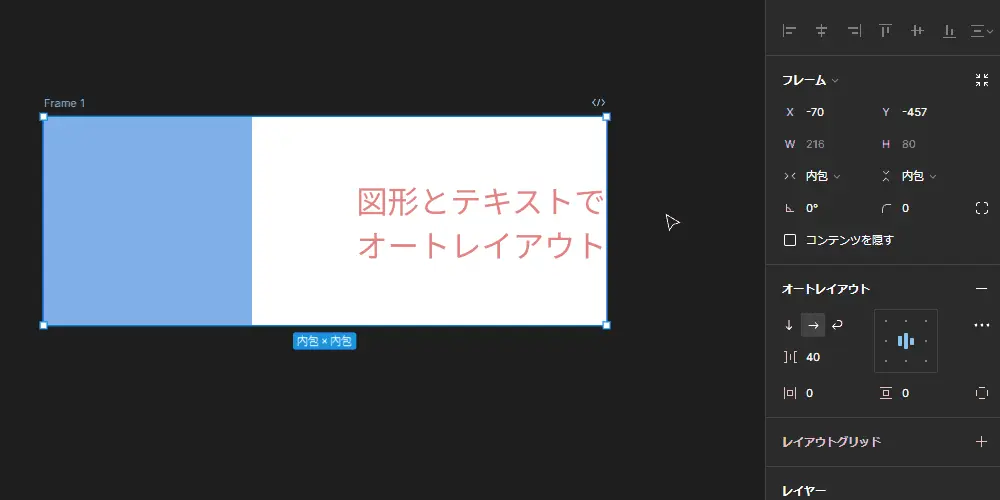
Reordering elements
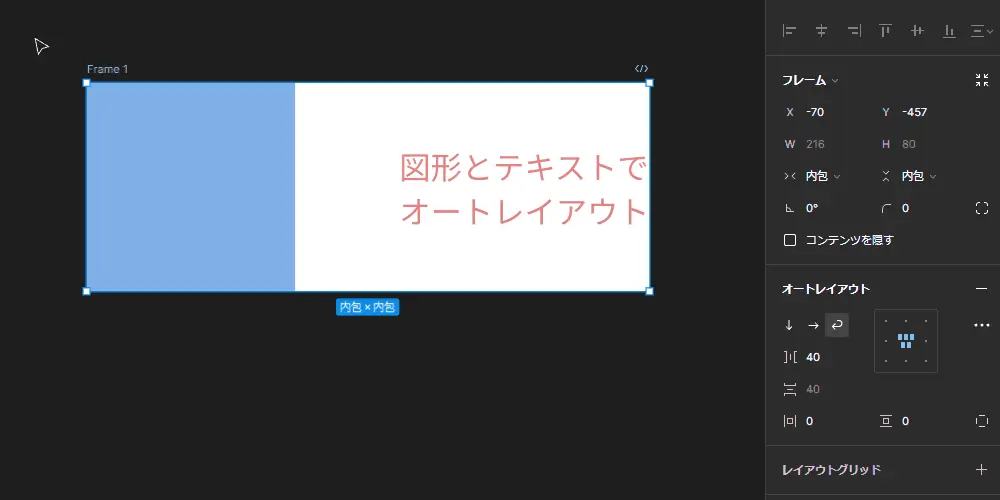
Making element sizes adapt to the content size
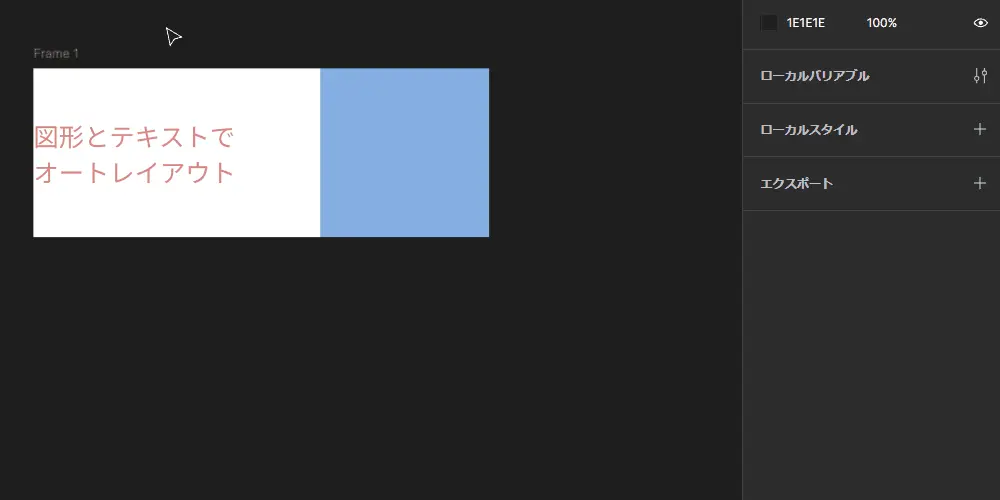
What kinds of designs can use Auto Layout?
Buttons (text only / text + icon)
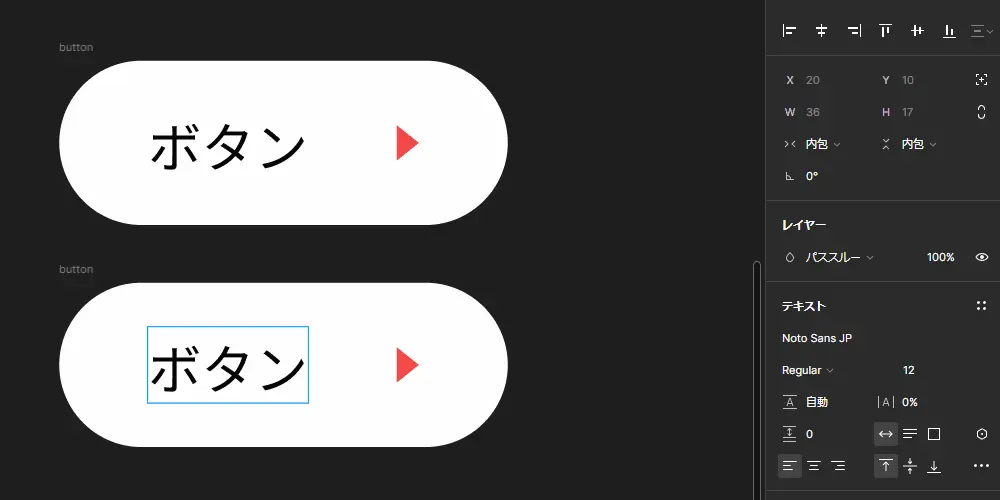
We use it often because the size adjusts automatically to the number of characters in the text inside.
Menus / lists / card-style UI
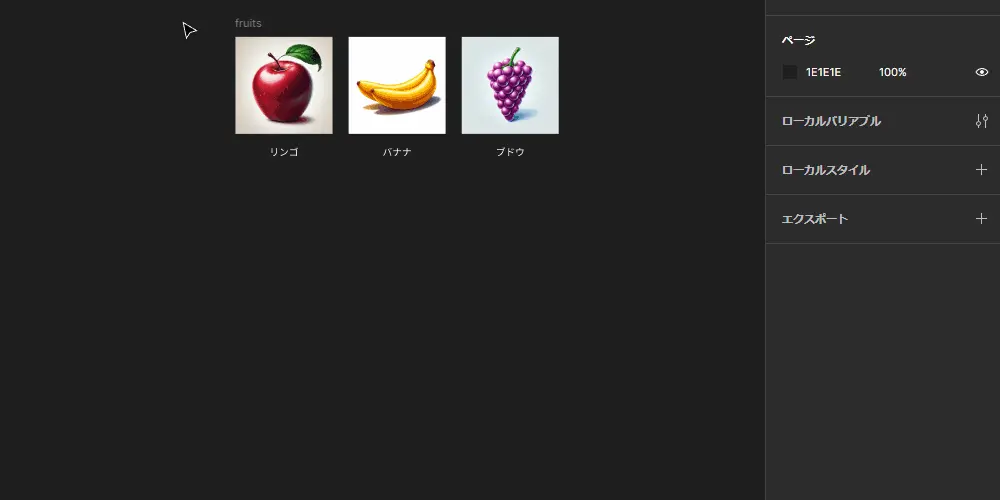
We use it to arrange elements at equal intervals. Elements can also be reordered instantly, which saves time.
Page structure (header / main / side / footer / sections, etc.)
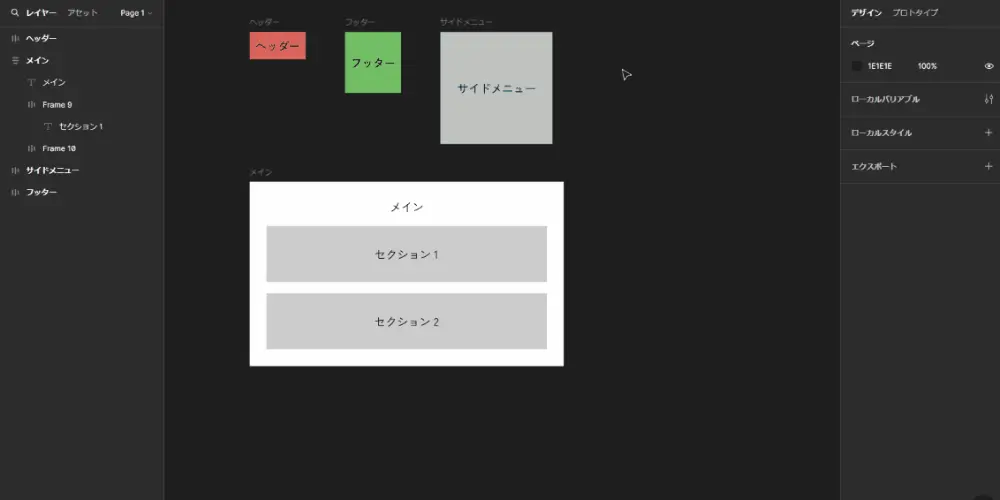
You can also use Auto Layout for page structure. However, some people may find it difficult to edit designs inside an Auto Layout, so it may be worth trying if you are comfortable with that. Personally, I decide whether to use it depending on the project.
Tips for using Auto Layout
There are many situations in web design where Auto Layout comes in handy. Although the feature is extremely convenient, as the name suggests it lays things out automatically, which means you can no longer move things around freely by intuition. Some design structures make it awkward to use, and there are cases where relying too heavily on Auto Layout without really understanding it leaves the layer structure confusing and makes revisions time-consuming.
Use it in combination with the Components feature
By combining components with Auto Layout, you can create reusable designs. If you design buttons and cards with Auto Layout and turn them into components, you can keep the design consistent by adjusting the components' Auto Layout, which makes management easier.
Consider responsive design
When supporting responsive design, it is best to anticipate how the layout will change according to the screen width and use Auto Layout accordingly.
Nested Auto Layouts
Auto Layouts can be nested, but management can become difficult as things get complex. For example, when you want to display a lot of information inside a card-style UI, you may design it with multiple nested Auto Layouts. You then use another Auto Layout to display those cards in a list, so you end up with Auto Layouts nested everywhere. If things look like they will get complicated, you can name and organize elements to make the structure easier to understand, or instead of forcing Auto Layout, make good use of the Components feature to handle the adjustments.
Consider the scale of the project
Small projects and landing pages consist of simple layouts and a small number of elements. In such cases, it is enough to avoid complex settings and apply Auto Layout only where needed.
In medium to large projects, which involve many components and complex layouts, fine-tune and standardize your Auto Layouts.
Final thoughts
It takes some time to think about where to use it, but if you can use it well, adjusting padding and spacing in your designs becomes much easier, and the time spent on design revisions is greatly reduced.
Combining it well with the Components feature can raise your efficiency even further.
We explain the Components feature in the article below, so we hope you find it helpful.
An easy-to-understand guide to components in the design tool Figma
We hope this is helpful for those who are new to designing in Figma or unsure how to use it.
WAN also provides design production in Figma and Illustrator. Please feel free to contact us with production requests and other inquiries.